How to Hold a Snooker Cue: Bridge, Grip and Stance
Every good shot in snooker starts before you move the cue. The way you hold it, the way you rest it on your bridge hand and the way you stand behind it decide whether the tip travels in a straight line. Most club players who struggle with potting do not have an aiming problem. They have a set-up problem. This guide takes you through the three building blocks in the order you should practise them.
The stance: build from the feet up
Your stance has one job: to keep your head and cueing arm still while the cue moves. Start by standing directly behind the line of the shot, with the cue held loosely at your side and pointing along that line.
- Right foot on the line. For a right-handed player, place the right foot so the line of the shot runs through it, or just inside it. The foot points roughly 45 degrees outwards.
- Left foot forward and to the left. Step the left foot forward, slightly bent at the knee, far enough apart to feel balanced if someone nudged you.
- Right leg straight. Most coaches teach a straight or nearly straight back leg. It locks the hips and stops the body swaying during the stroke.
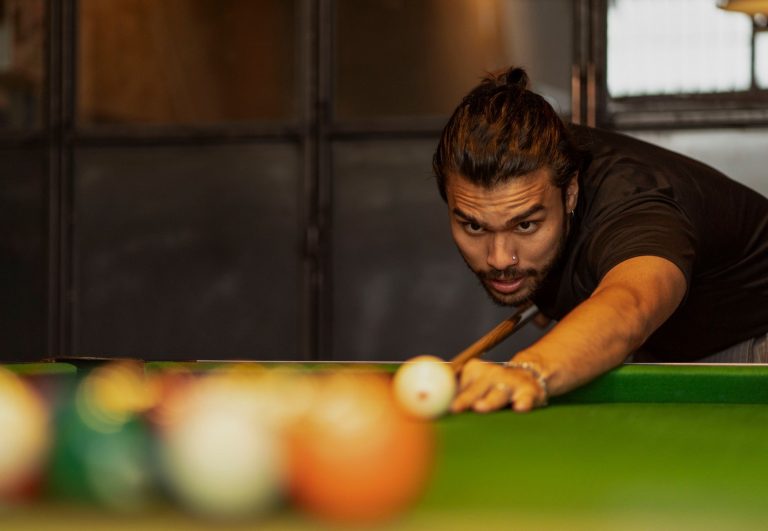
- Bend from the hips. Lower your upper body forward until your chin is close to the cue. The lower the chin, the easier it is to see the line, which is why professionals get their chin almost on the cue.
Left-handers mirror everything. The test of a good stance is simple: once you are down, your cueing arm should hang so the forearm is vertical at the moment the tip meets the cue ball, and you should be able to hold the position without wobbling.
The grip: loose, and at the right point
Hold the cue with the thumb and first two fingers doing most of the work, and the last two fingers just touching the butt. The grip should be firm enough to control the cue and loose enough that your wrist does not tense. A common coaching image is holding a small bird: tight enough that it cannot fly away, loose enough that you do not hurt it.
Where along the butt you hold it matters as much as how. When the tip is touching the cue ball, your forearm should hang straight down, perpendicular to the cue. If your hand is too far back, the arm angles backwards and you lose power and control at the end of the stroke. Too far forward and the stroke becomes cramped and short.
Common grip faults
- White knuckles. A tight grip makes the cue twist and steers the tip off line.
- A cocked wrist. If the wrist is bent sideways, the cue will swing across the line on the backswing. Let the wrist hang naturally.
- Re-gripping on the final push. Many players tighten the hand just before contact. Keep the pressure the same throughout.
The bridge: a stable channel for the cue
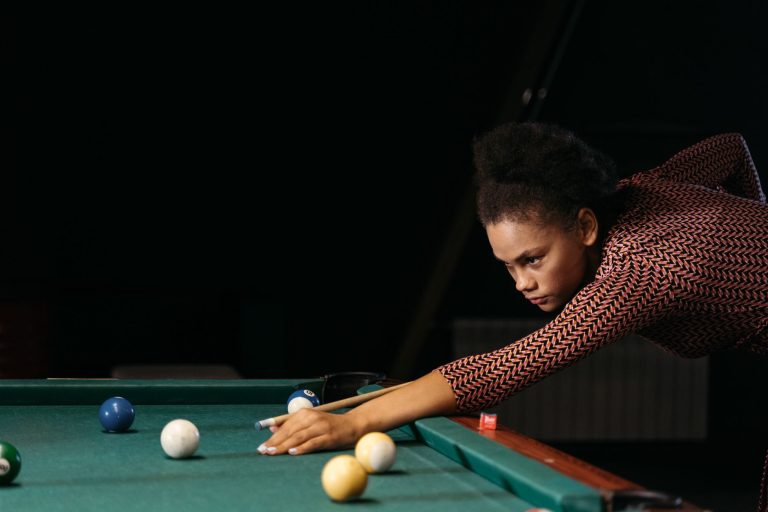
The bridge hand is the front support. It has to be solid, the same height every time and positioned at a consistent distance from the cue ball, usually around 25 to 30 centimetres for a normal shot.
- Place your left hand flat on the cloth, fingers spread wide for a broad base.
- Press the fingertips and the heel of the hand into the cloth; this is where the stability comes from.
- Raise the knuckles slightly and cock the thumb up against the side of the index finger to form a V-shaped groove.
- Rest the cue in that groove. Raise or lower the hand by bending the knuckles, not by lifting the palm off the cloth.
You will also need a few variations: the looped bridge over a cushion, the rail bridge when the cue ball is tight to the cushion, and the raised bridge for playing over another ball. Learn the standard bridge first, because all the others are built from it.
Why the cue itself matters here
A stance that works for one cue can feel wrong with another. A cue that is too long for your height forces your grip hand behind the vertical, and a very heavy cue encourages a tight, forced grip. If your set-up keeps drifting even after practice, check that the cue actually fits you. Bestsnookercue has a clear guide to choosing cue length by height and a companion piece on what cue weight suits your stroke.
How to check your set-up without a coach
You do not need a coach standing over you to spot set-up problems. A phone and a few simple checks will reveal most of them.
- Film from directly behind. Prop your phone on a chair behind the cue ball, in line with the shot. Your head, the cue and your cueing arm should all sit in one vertical line. If the elbow sticks out sideways or the head is off to one side, the stance needs adjusting.
- Film from the side. At the moment of contact, your forearm should be vertical. If it points back towards you, move your grip hand forward; if it points towards the cue ball, move it back.
- The nudge test. Once you are down on the shot, ask a friend to push gently on your shoulder. A good stance barely moves. If you rock, widen your feet or straighten the back leg.
- The bridge wobble test. Feather the cue quickly through your bridge. If the V of your thumb and finger moves, press the fingertips harder into the cloth and spread them wider.
Adjusting for your body
Coaching rules are starting points, not laws. Taller players often need a wider stance and a slightly longer bridge; shorter players may find the standard bridge distance feels long. Players with back or knee problems can use a more upright stance, accepting a slightly higher head position in return for comfort they can maintain over a long match. The goal is always the same: a still head, a stable base and a cue that can move along the line without anything else moving with it.
Left-handed players
Everything in this guide mirrors for left-handers: the left foot goes on the line, the right foot steps forward and the right hand forms the bridge. Some left-handers learn from right-handed coaching videos by flipping the video horizontally, which is a simple trick that makes the positions much easier to copy.
Putting it together: a pre-shot routine
Consistency comes from doing the same things in the same order every time.
- Stand behind the shot and pick the line.
- Step into your stance with the cue already on that line.
- Place the bridge hand, then lower your chin.
- Take a few smooth feathering strokes, checking the tip is on the spot you want to hit.
- Pause, look at the object ball last, and play.
Practise the routine on simple straight shots, blue off its spot into a corner pocket, until the stance, grip and bridge are automatic. Only then add spin and power. For the next step, read our guide to cueing straight every time.
Frequently asked questions
Where should I grip a snooker cue?
Grip the cue where your forearm hangs vertically when the tip touches the cue ball. For most players this is a few inches from the end of the butt. If your arm angles backwards at contact, move your hand forward; if the stroke feels cramped, move it back slightly.
How far should my bridge be from the cue ball?
For a normal shot, around 25 to 30 centimetres works for most players. Shorten it for delicate touch shots and when you need extra accuracy, and lengthen it slightly for power shots. The key is keeping the distance consistent from shot to shot.
Should my back leg be straight in a snooker stance?
Most coaches recommend a straight or nearly straight back leg because it locks the hips and keeps the body still during the stroke. Some players with physical limitations use a slightly bent leg; what matters is that nothing moves once you are down on the shot.